How to Make Almost* Anything | MAS.863
Ella Peinovich | M.Arch Level III, MIT
Ella Peinovich | M.Arch Level III, MIT
3D ZScanner & CT Scanner
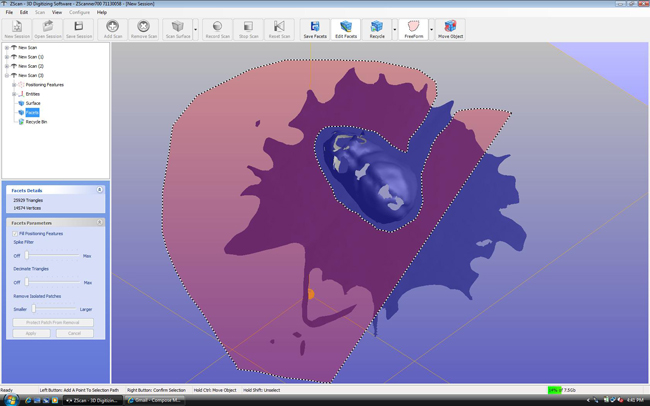
A robotic hampster seemed like the perfect specimen to test a number of 3D scanning devices. I wanted to scan a 3D object that would otherwise be too intricate to build from scratch. It's fur was reinterpreted by the ZScanner as a complex series of faceted surfaces, while the CT Scanner gave me a detailed reconstruction of it's hard, geared interior.


The 3D ZScanner was very handy because of its mobility, and created a rather legible scan after only 3 passes. However, because I calibrated the scanner to the fur, the harder, shiney surfaces did not scan nearly as well. To create a more complete scan I would need to recalibrate the scanner and add the facets of the harder surfaces.
CT Scanner
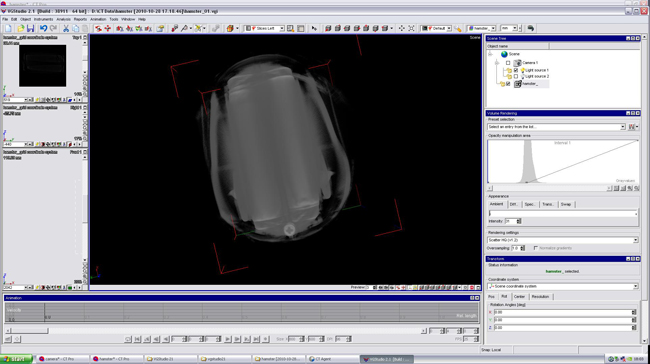
Amazed by the quick precision of the CT scanner I decided to put in my hampster for a quick look at its insides. Disguised by its furry exterior; the stitches, gears and battery pack inside the hampster's hard skeletal shell had an interesting equivalence to the veins, joints, and organs of a biological hampster. Unfortunately, the scanner was set too far forward and required a realignment of its captain, so I was not able to zoom out far enough to get the hampster's head in the scan. Sad.


I took some screen shots of the 3D scan and some still images of the scan in progress, making for a very comprehensive set of maps to the inner workings of the toy. As a limited to me, however, the export potential for the software was limited to medical programs or the like that could handle such large files. Kenny in the lab had apparently devised a system for reducing the thresholds and splicing the scan in order to get it into a usable .stl format for printing and editing.
Between the image capture, 3D scanning, and printing capabilities there is so much that can be done (as a surprise to few) with this million dollar machine.